
As my ruck collection grew, I wanted to fund a way to store my bags that also showed them off, because, hey, GORUCK makes beautiful rucks. About a year ago I purchased some hooks from Home Depot and and hung my bags by my entry as shown here.

While I was happy with the look (at the time), I didn’t like the way the handles began to stretch out. I reached out to the good people on the Carryology Classifieds group on Facebook for some suggestions.
Through their thoughts and ideas, I set out to build a better display wall.
How To Video
Materials:
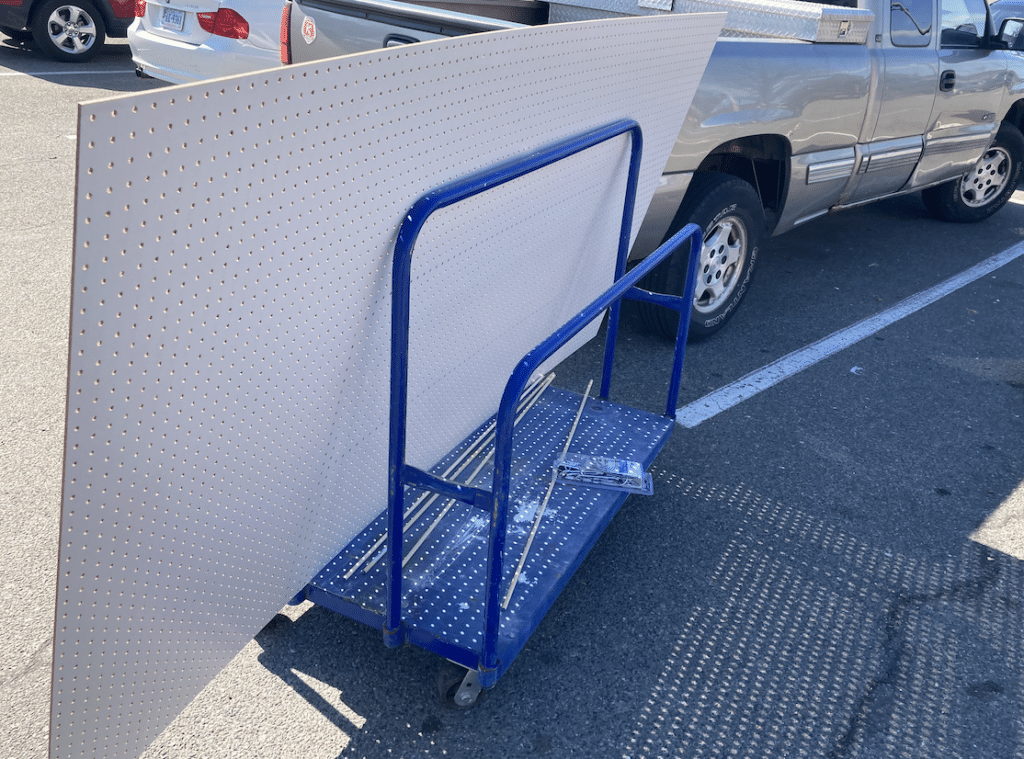
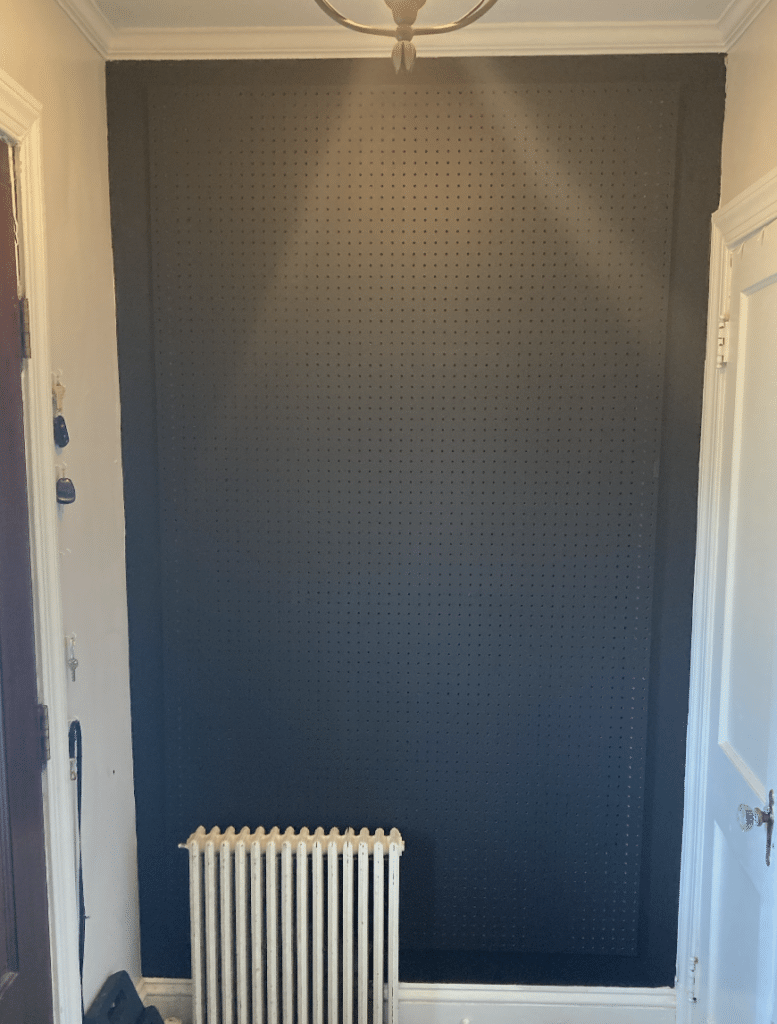
After measuring the wall, I cut the pegboard and hung the Furring Strips. The most important thing here is to think through where you will want to place your hooks to hang your bags. If a furring strip is where want to place a clip, you’ll be out of luck. So, as best you can, strategically hang your furring strips.
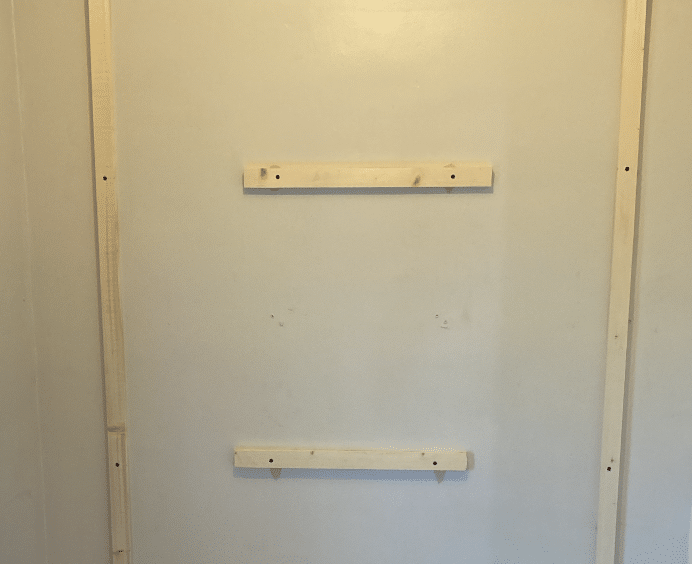
At this point, I would recommend that you paint your furring strips and your pegboard (if you’re planning to paint them). Same goes for the wall behind the board. I didn’t do this and regretted it later.
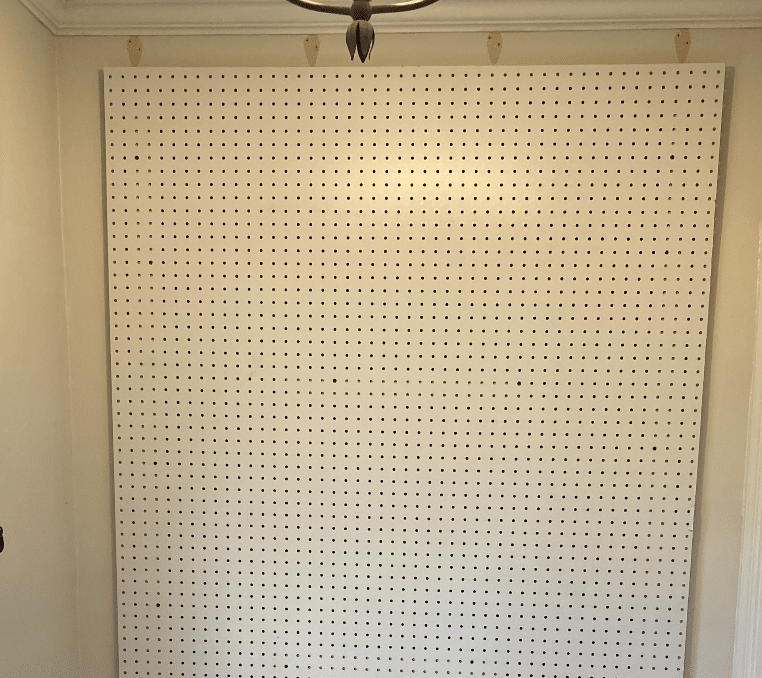
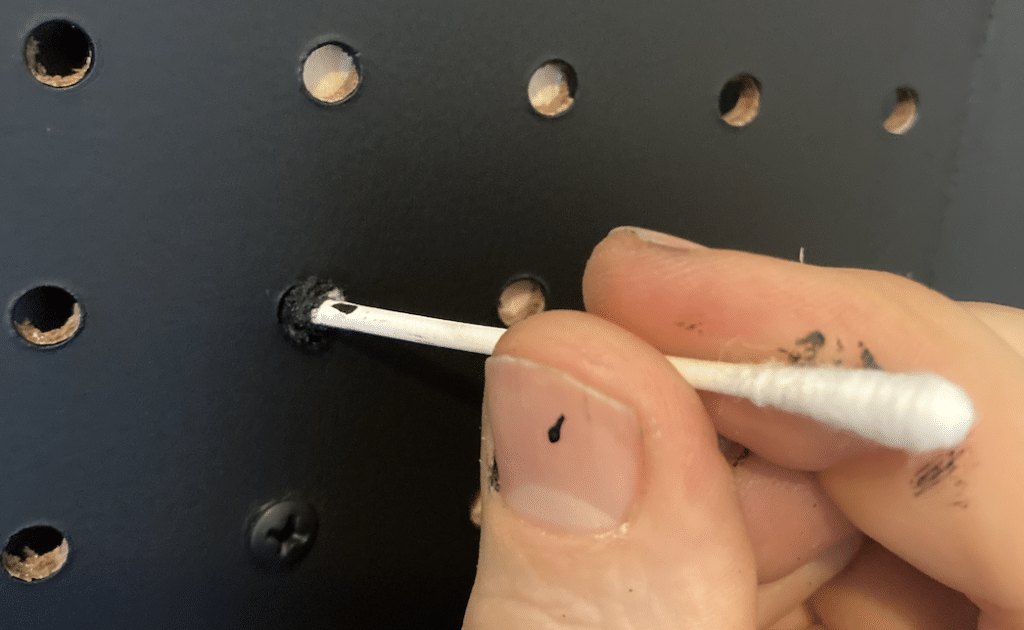
If you’re painting the pegboard, you will want to also paint the strips the same color or else it they will likely show through.
This will cause you to chose between having to take down the pegboard and paint them or chose the dumber option of doing it with a Qtip.
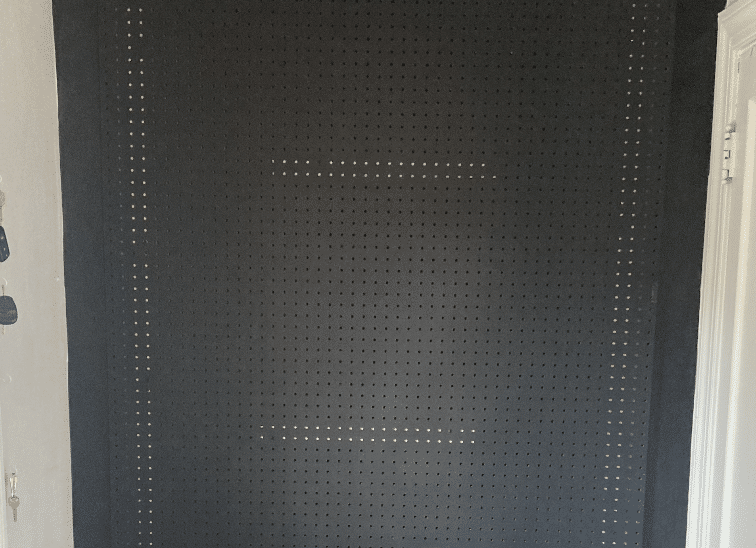
I chose to paint the wall around my pegboard because I knew my bags would go wider than the board. If my rucks were to stay inside the board, then I might have kept the wall a contrasting or accent color. In the end, I just blacked it all out.
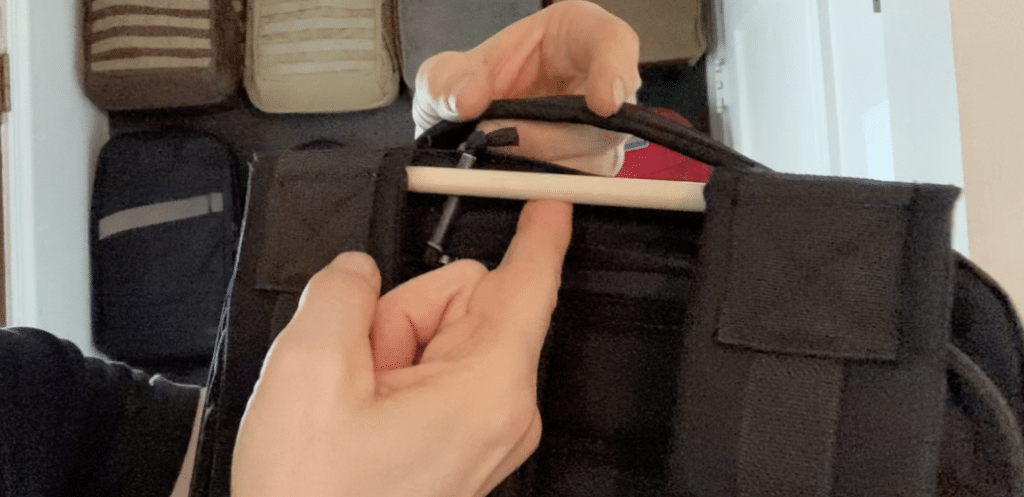
After this, I began to install my hooks where I wanted them. I also cut down the dowels so that they fit each ruck perfectly. The dowels were places under the straps, which I cinched down nice and tight.
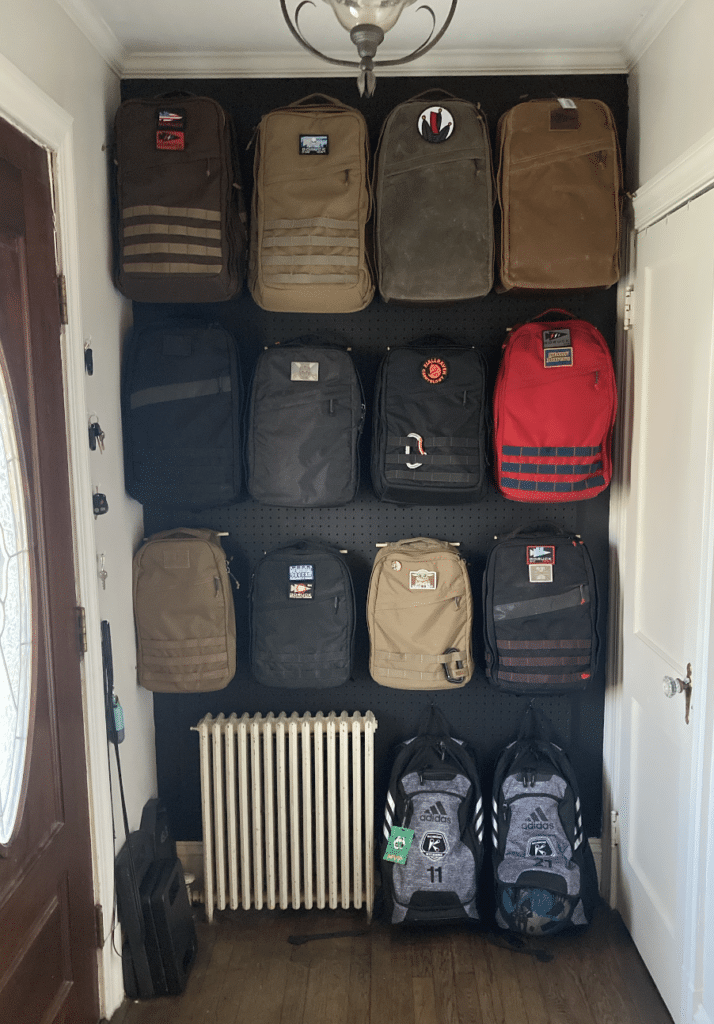
From here, I just hung them on the hooks and, boom! Ruck Display Wall complete!
Random Notes/Thoughts
- I would NOT hang rucks on this wall with weight in them. My “guess” is that probably 10# is the most I’d want to hang.
- These bags are not my daily carries and spend most of their time on display. I might grab one of these per week to put in use.
- I believe the display would look great with as few as 2-3 rucks because you could space them out in cool ways and add other decorative flair to the wall.
- I think it would be neat to have light strips behind the wall to shine thought all the holes. I didn’t do it because I don’t have an outlet near by and I just wanted to finish the project.
Rucks On The Wall (Top to bottom, Left to Right)
- 40L Java GR2
- 40L Coyote GR2
- 26L Dark Oak Heritage GR1
- 26L Brush Brown Heritage GR1
- 25L Rucker 3.0
- GORUCK Carryology Gorilla X
- 26L GR2
- 21L American (original version) GR1
- 15L Coyote Bullet (210 back version)
- Original GORUCK Echo
- 15L Coyote Rucker
- 20L Midnight Red (custom color) Rucker 3.0
If you have any questions, drop them in the comments below.