
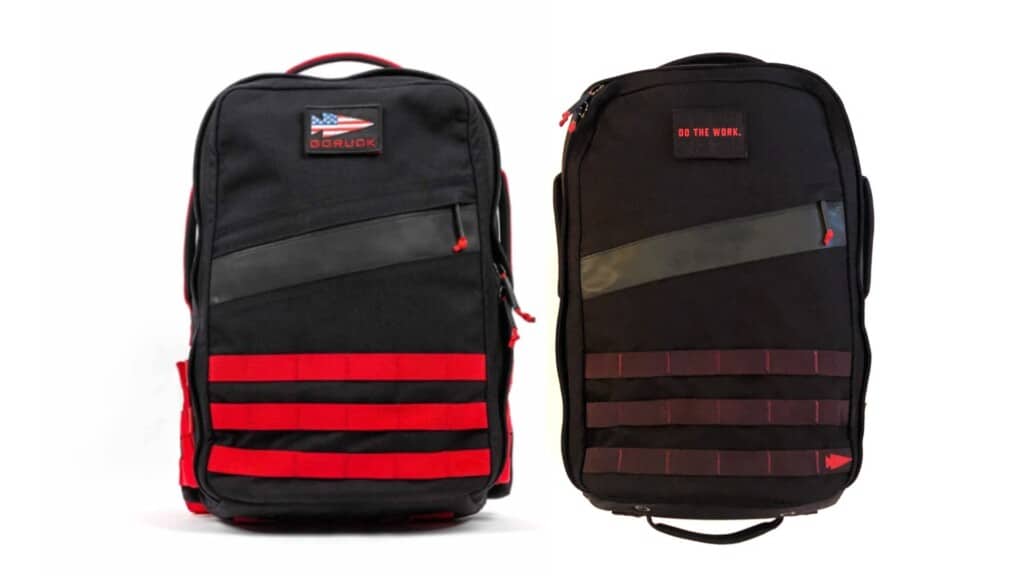
When GORUCK released the Rucker 3.0 (our full review can be found here) I wasn’t super excited about the two colorways. But, I couldn’t wait to get one so I ordered the black and red option.
After about a week I began to wonder if I could dye the ruck to be all black. Since I’ve proven that I’m not afraid to do crazy things to my rucks, I decided to give it a try.
Here’s how it went down.
Dyeing GORUCK Rucker Video
This video is nearly 18 minutes long, which is FAR too long for a video about sticking a bag into a bucket of warm water with dye in it. Sheesh. You have been warned.
Dyeing the Rucker 3.0
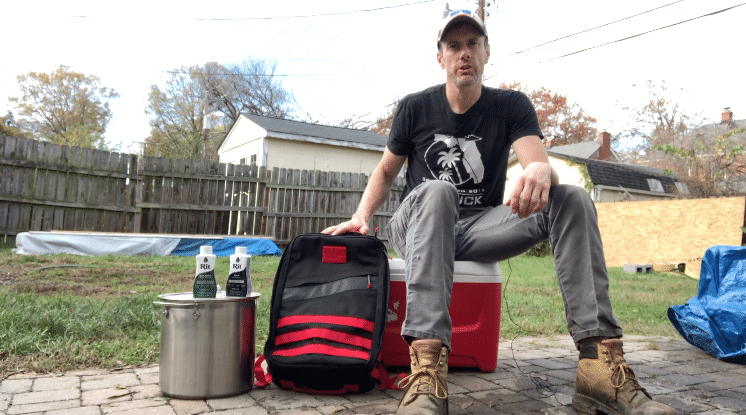
After doing a little research on the RIT website I decided to dye the ruck with both black and green. RIT seemed to indicate that the green would interact with the red, making it darker and those have a better impact with the black dye.
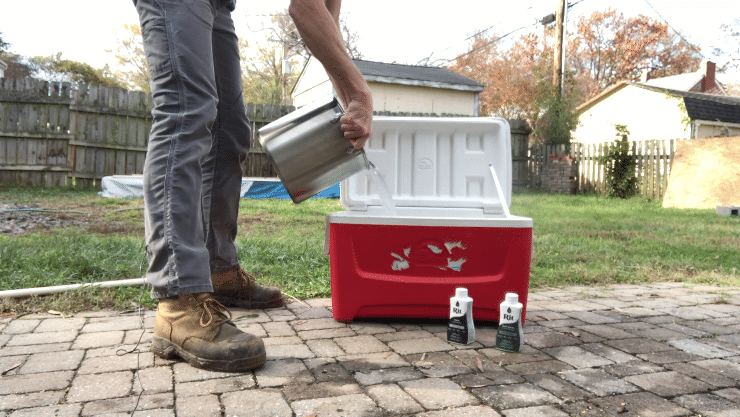
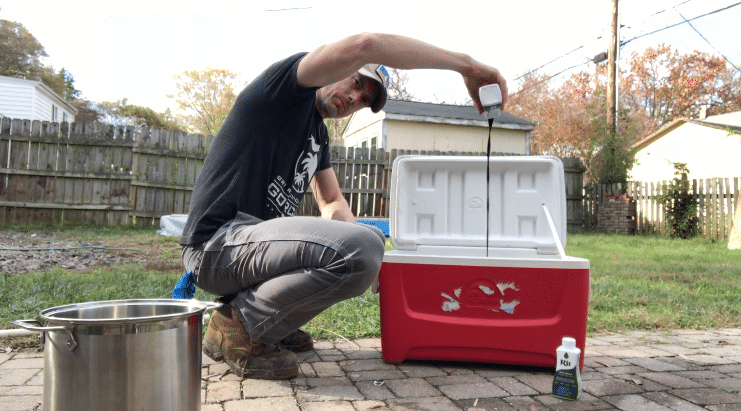
The only think I found around the house that could accommodate the Rucker 3.0 was my cooler. This ended up being a great solution because it kept the dye solution warm for the entire time the ruck was in.
The Process of Dyeing the Rucker 3.0
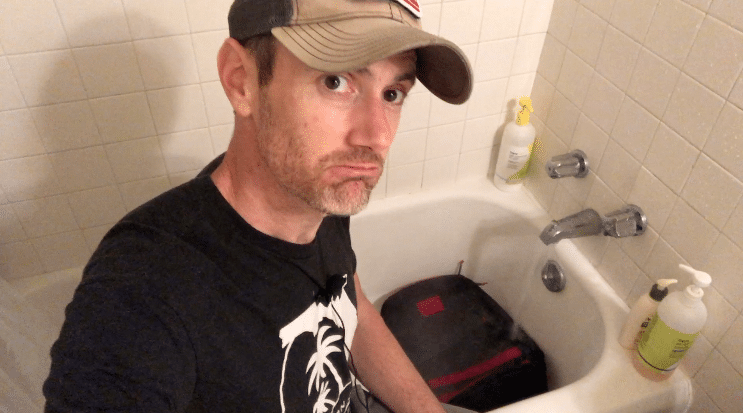
Prior to putting the Rucker in the dye, I soaked it in hot water per the dye instructions to “loosen” the fibers.
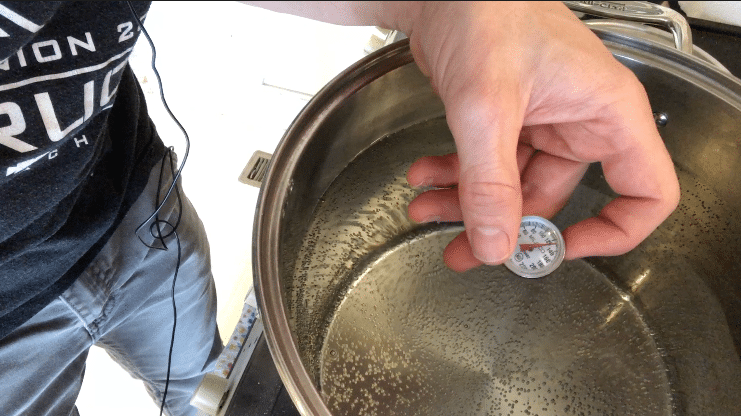
From here I heated the water to 140 degrees ferinhight.
I ended up needed to heat 3 pot of water to get the level high enough to cover the ruck.
I opted to add the entirety of both bottles.
I’ll note here that the instructions suggested adding either salt or vinegar to the mix. I didn’t have either of them so…
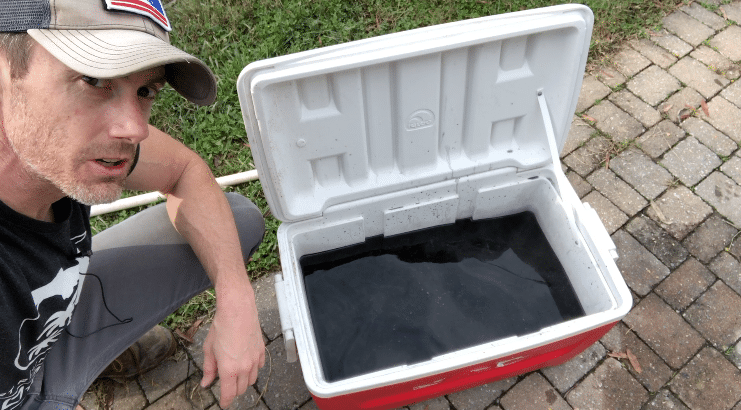
Looks black to me.
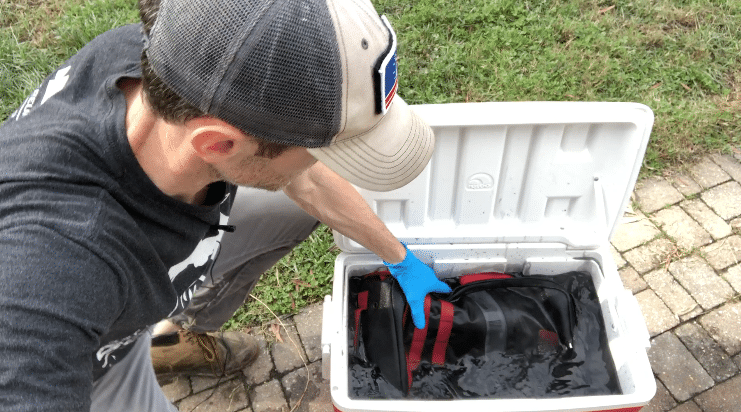
Grabbed some gloves and shoved it in like a winner.
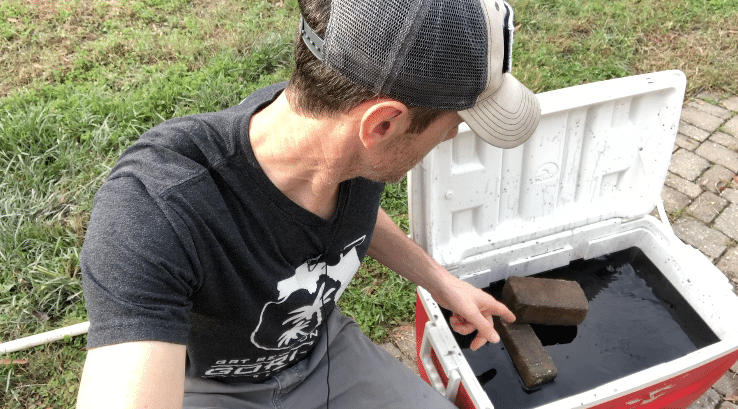
The Rucker 3.0 wouldn’t stay submerged, so I added some bricks.
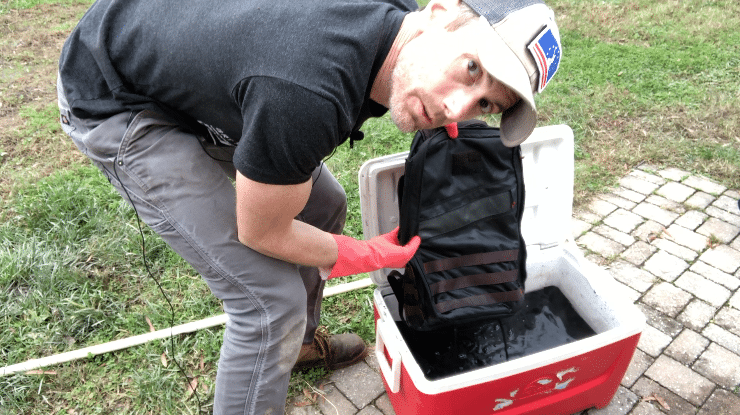
This is after the first 30 minutes of soaking. I ended up keeping it in the dye for 4 hours.
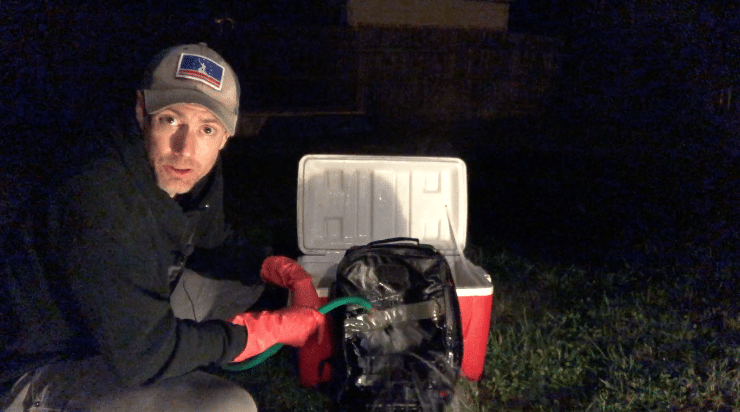
After four hours of soaking, I pulled it out and rinsed out all the dye.
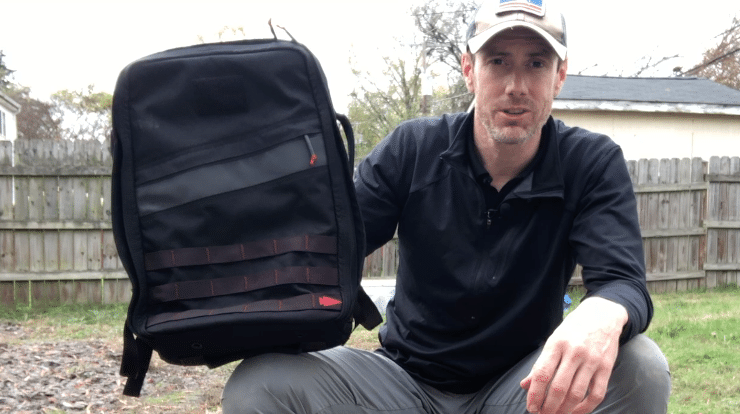
And, there’s the final product. The world’s first “Midnight Red” Rucker 3.0.
Thoughts of Dyeing the Rucker 3.0
First, I am happy enough with the results. While I hoped for a solid black Rucker 3.0, the midnight red is pretty cool.
The cost of the project was very low, like $8 worth of dye. However, the time commitment was bigger than anticipated. Hoping to get as dark a dye as possible, I left it in for 4 hours. As noted in the video and pics, I didn’t finish up until it was dark out.
In all, the process was super easy.
Now, do I recommend it?
I guess if you’re willing to roll the dice, then go for it. But, only do so if you’re willing to live with the results of whatever color you end up with… because it will almost certainly not be the color you think it will be.
I’ll conclude by saying that I’m happy with the results. The ruck looks unique and it is no longer that high contrast red. I would have liked it to be darker, but I can certainly live with my choices and the claim to the world’s first “Midnight Red” Rucker 3.0.
Questions about Dyeing the Rucker 3.0
If you have any questions about the project, drop them in the comments below and I’ll be sure to help as best I can.
Want your own Rucker 3.0? Go grab one today.

7 Replies to Dyeing My GORUCK Rucker 3.0
I bet the blue one would look better when attempting to dye it black. That red is pretty loud.
Does the dye affect the (effectivity of the) reflective strip at all?
Goruck’s black “reflective” strip is already pretty worthless. I don’t see how dye could make it any worse.
The Midnight Red is pretty cool. I do like how the arrow stayed red and the pulls. Hope it doesn’t bleed on you when you take it for a spin in the rain.
Dude, if you don’t have a problem with dyeing a perfectly fine-looking 3.0, how about staining that fence? The results would be way more beneficial!
Seriously, though, hats off to ya…the ruck looks pretty sweet! Wonder what you’d get for it on eBay when the 4.0 comes out?
TXCOMT
Ha! New fence is already up 😉
Comments are closed.
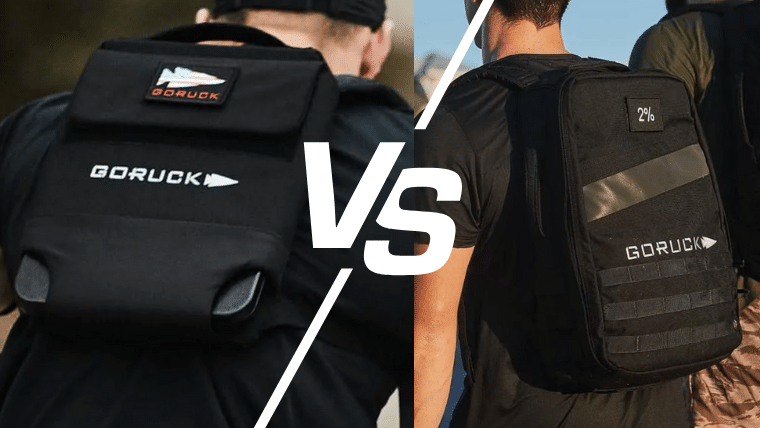
GORUCK Ruck Plate Carrier vs. Training Weight Vest for Rucking
GORUCK Coyote Ruck Dye Guide
Review of the GORUCK Footwear Lineup
Which GORUCK Bag Should I Buy?
Which GORUCK Bag Should I Buy?
GORUCK Rucker 4.0 Review
GORUCK Simple Sandbag & Sandbag 2.0 Review
GORUCK Weight Vest Review (with Video)