After many years of rucking and events with my faithful GR1, I decided to give the 20L Rucker v2.0 a shot. It was on sale and I had wanted something smaller for events (less is more).
I was excited when it arrived. I strapped it on, threw a 30# plate in it and set out on a ruck.
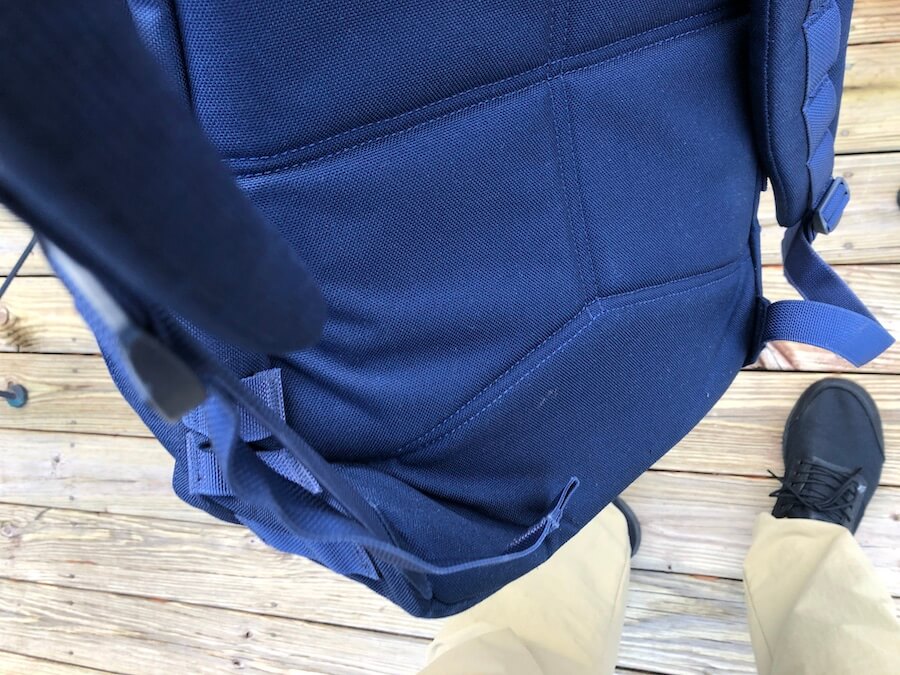
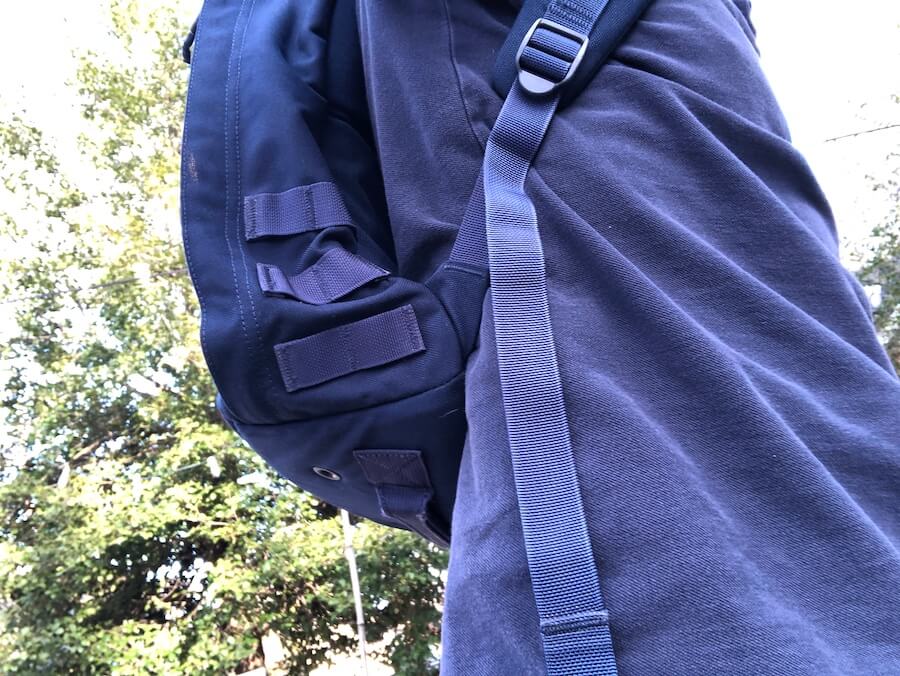
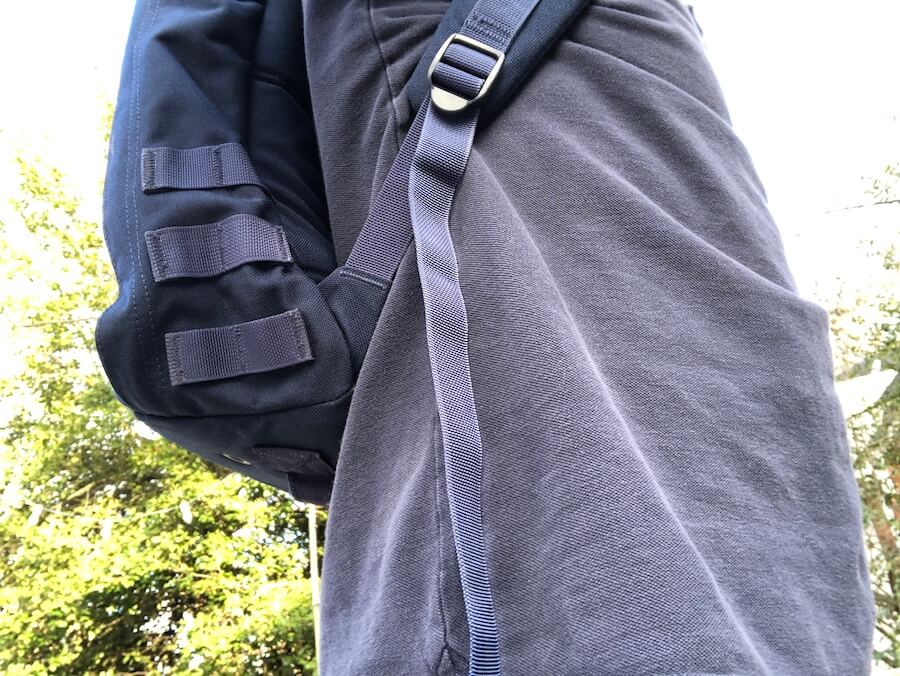
I was perplexed during the ruck. The bottom corners of the ruck were bending up and hugging (uncomfortably) my sides. Here’s what it looked like.
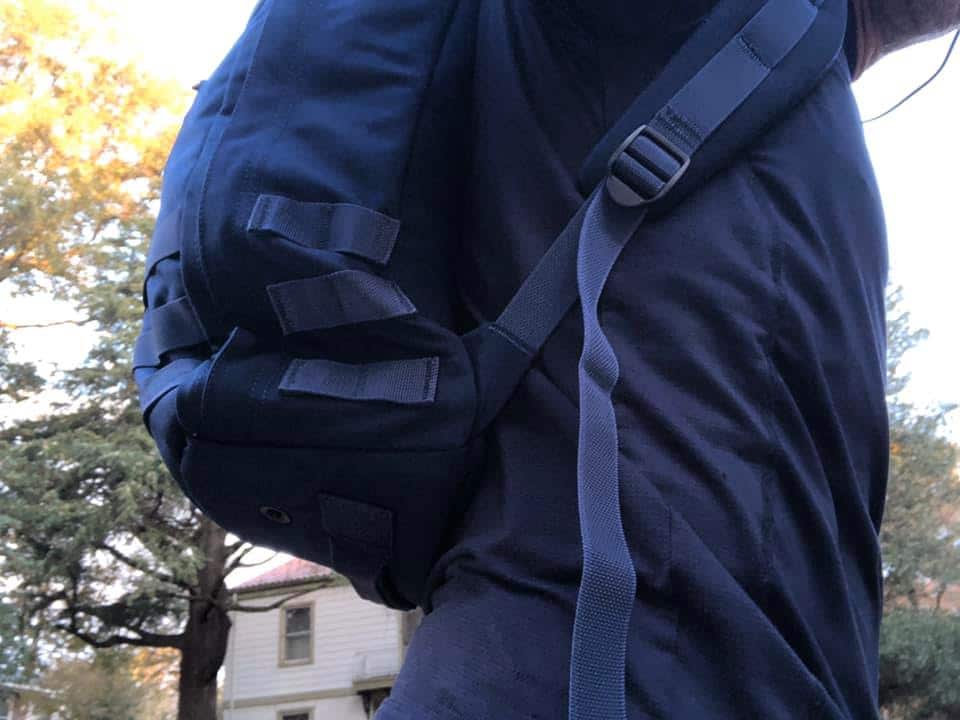
I posted online and found that others had this same issue.
Despite my hesitation and not really training with the ruck, I decided to use if for my Veterans Day Heavy and Tough. What I found is that, when full of stuff, the “crumple” was minimized and I didn’t notice it too much. But, it was still present.
Since I had good success making a new framesheet for my GR1, I had a few ideas on how I might be able to tweak my Rucker to make the bottom stiffer.
So… Here we go…
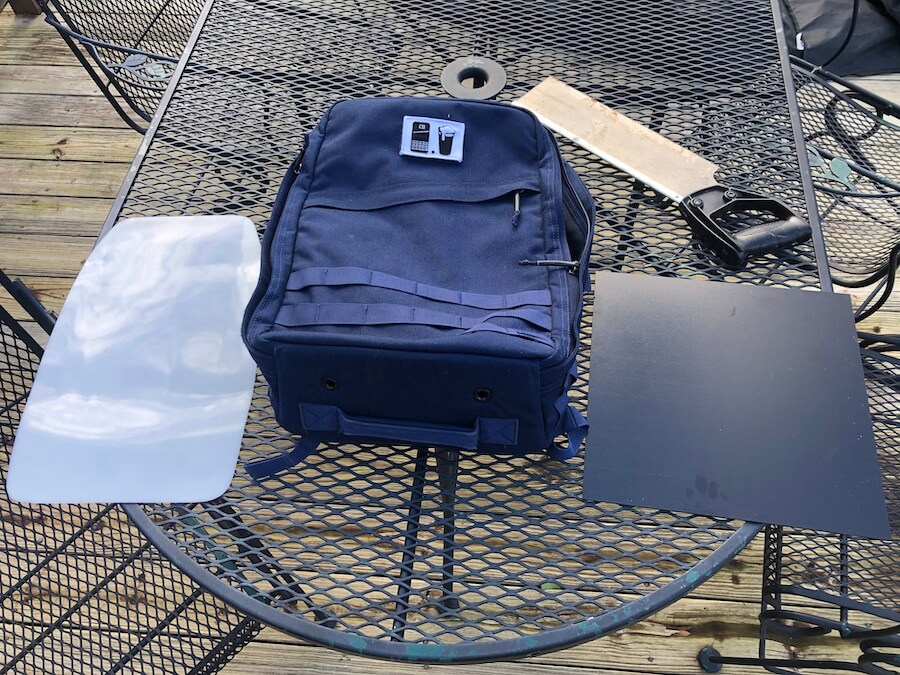
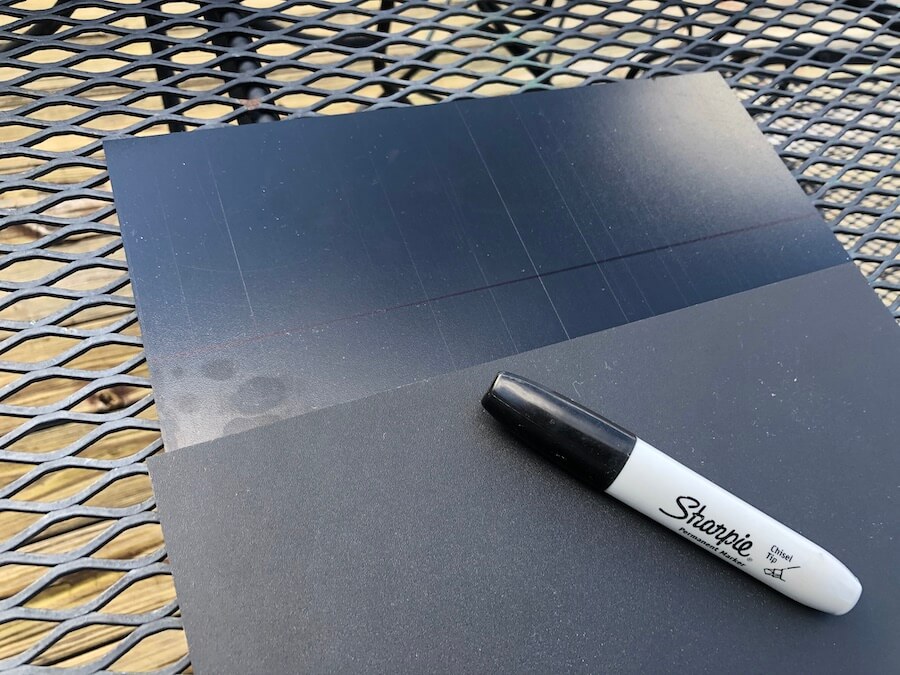
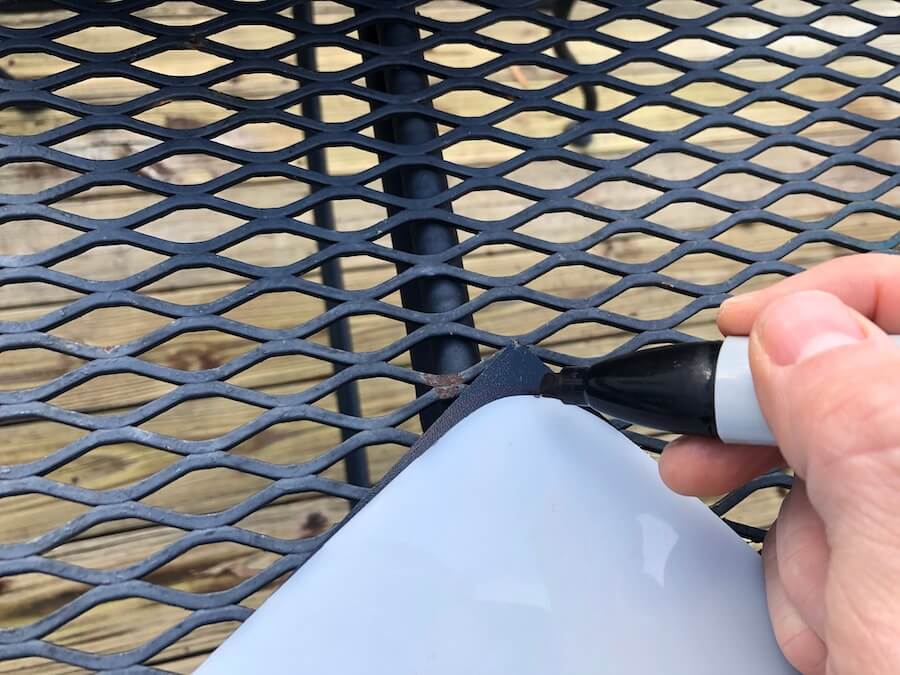
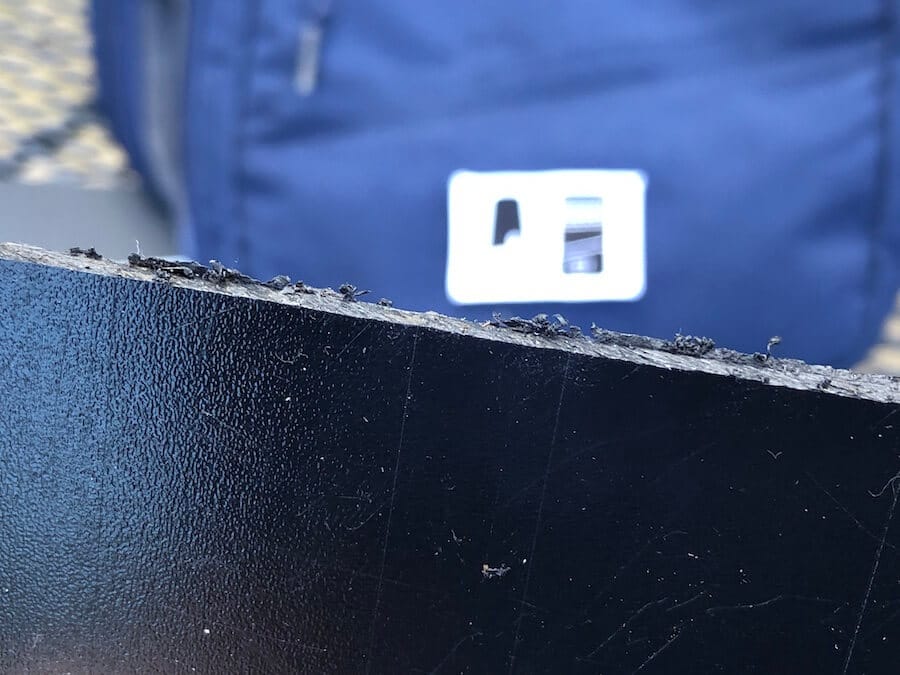
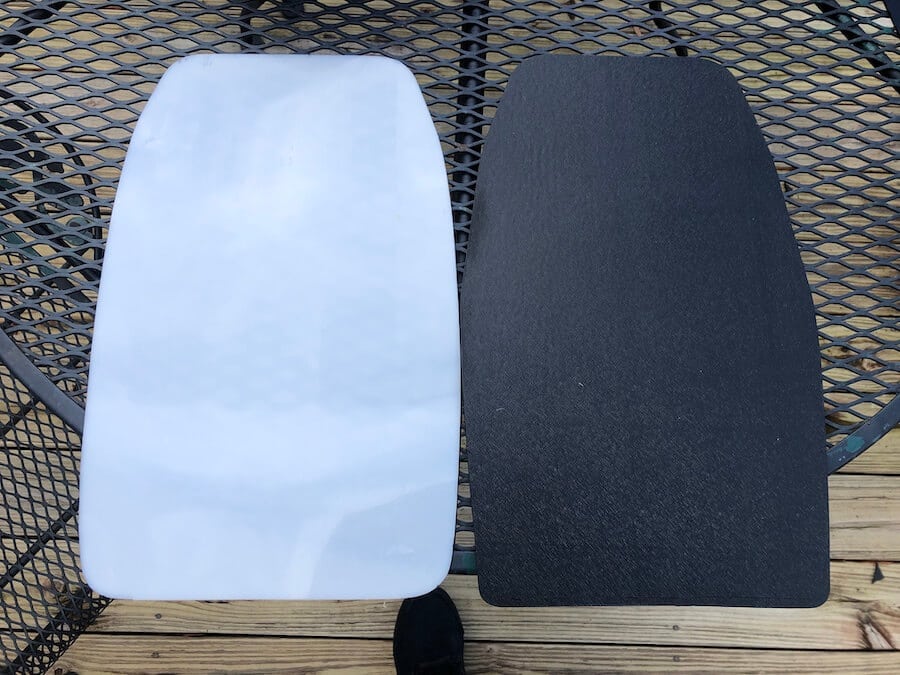
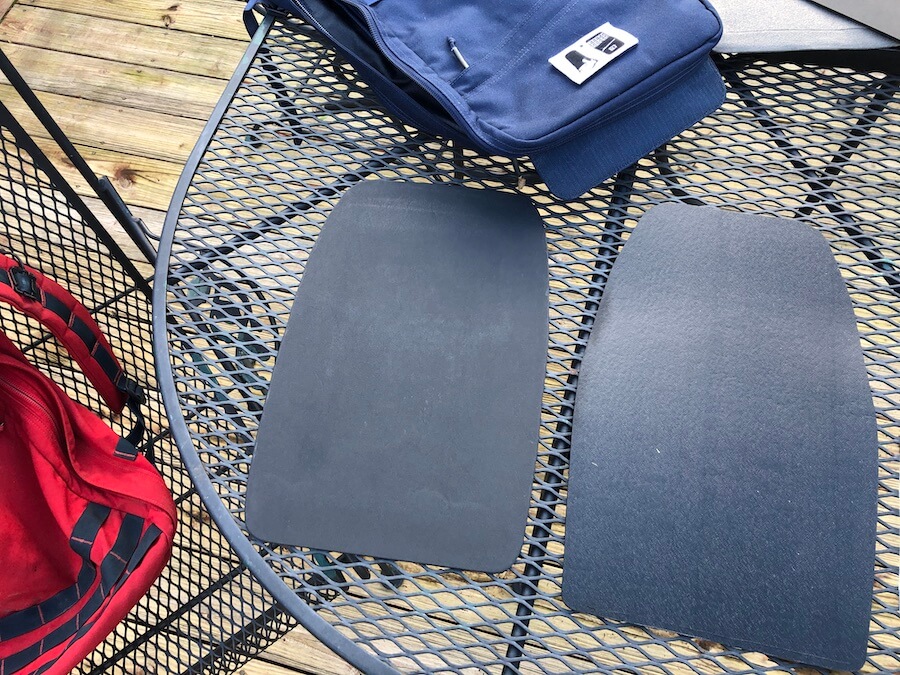
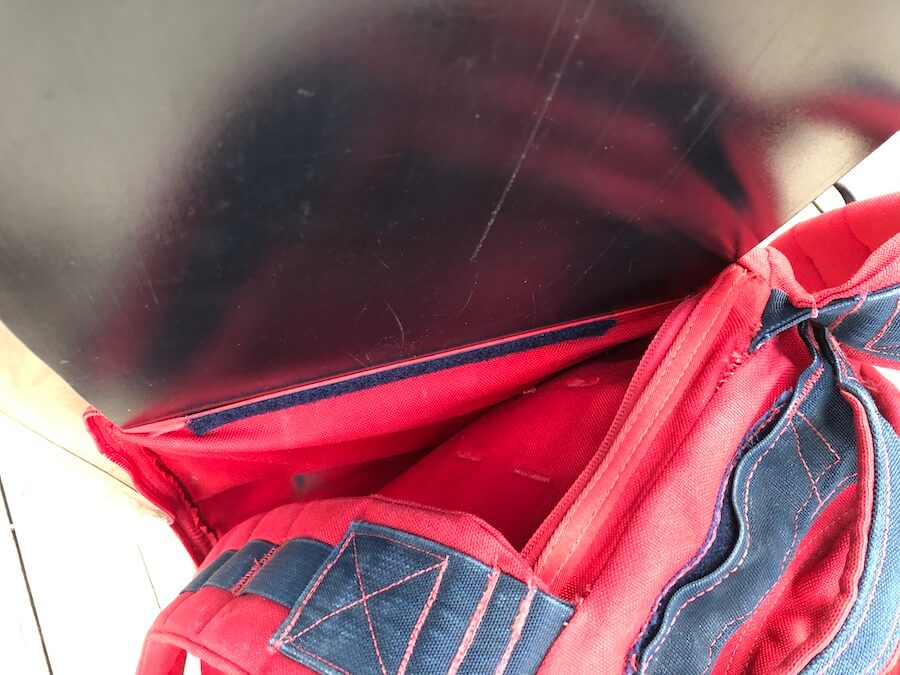
To begin with, I grabbed a saw and a sheet of Kydex I picked up from Amazon. (The white sheet is an original framesheet from a GR1).
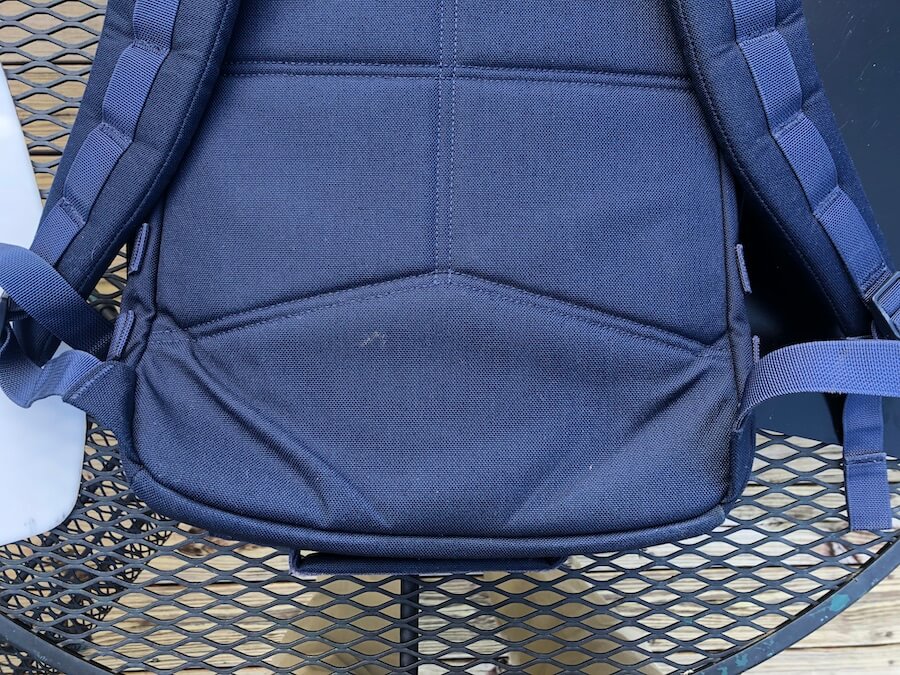
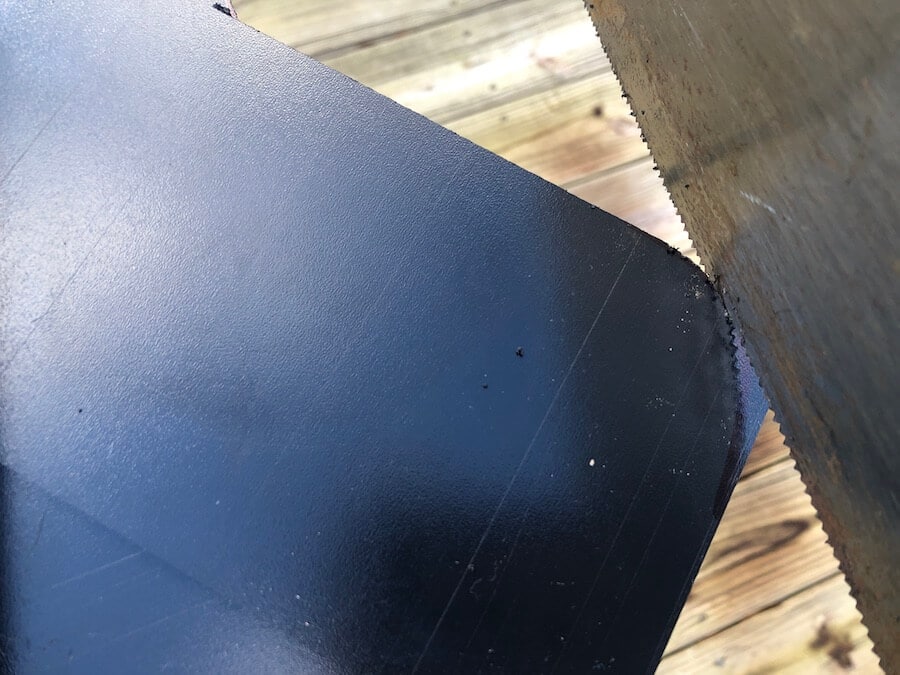
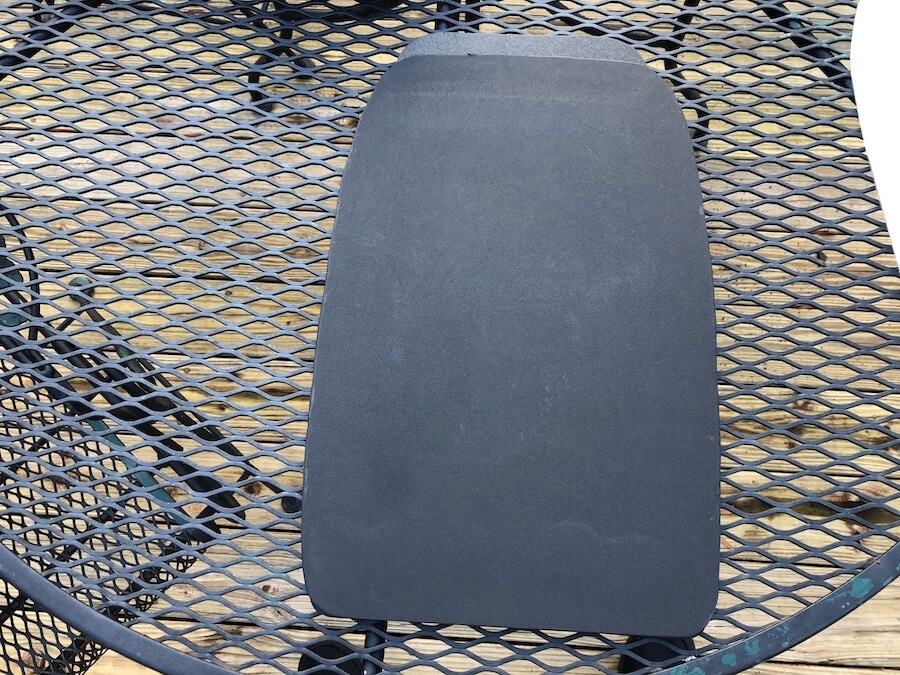
As you can see below, after a fair amount of wear, the crease lines are pronounced. This is what we’re trying to resolve.
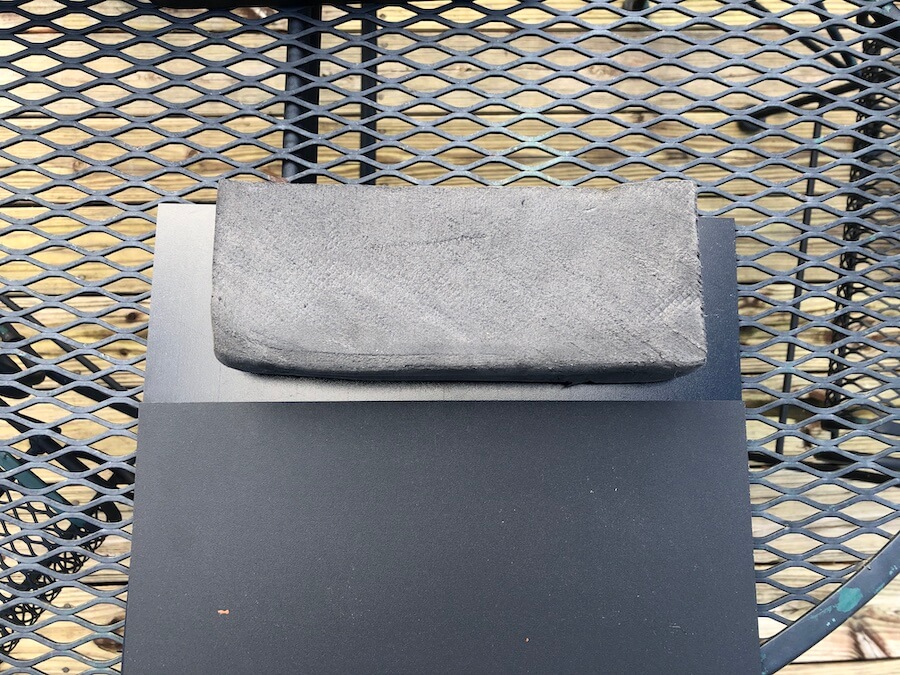
The first thing I did (not pictured) was to measure the distance from the bottom of the ruck plate (in the plate pocket) to the bottom of the ruck. It was slightly longer than a piece of chopped yoga block I had nearby. So, I grabbed my backup kydex sheet and made a straight line.
Now, to cut. I was actually surprised how well the saw worked.
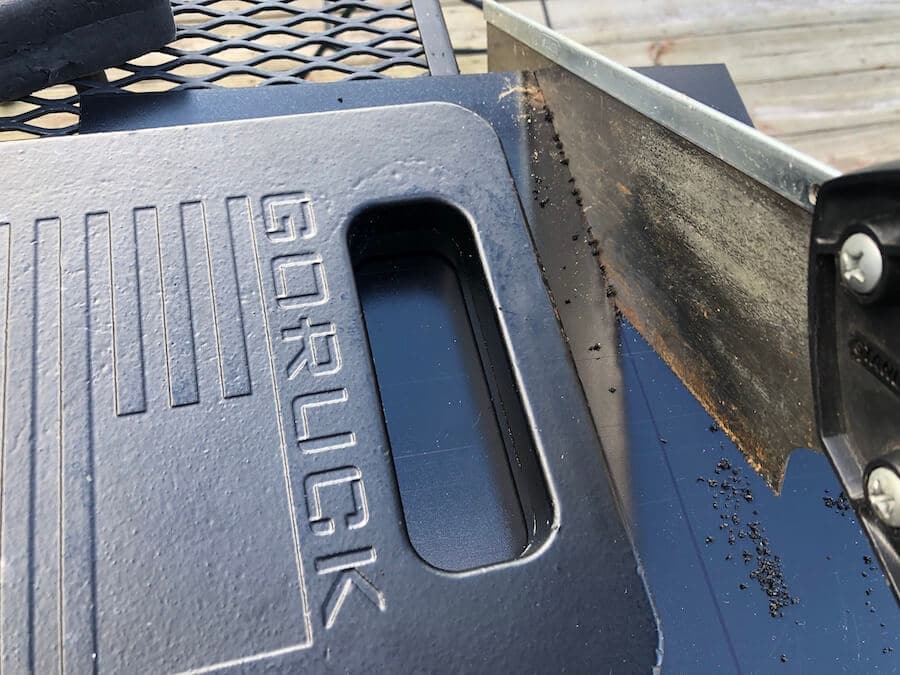
Once the cutting was done, I had a nice kydex rectangle.
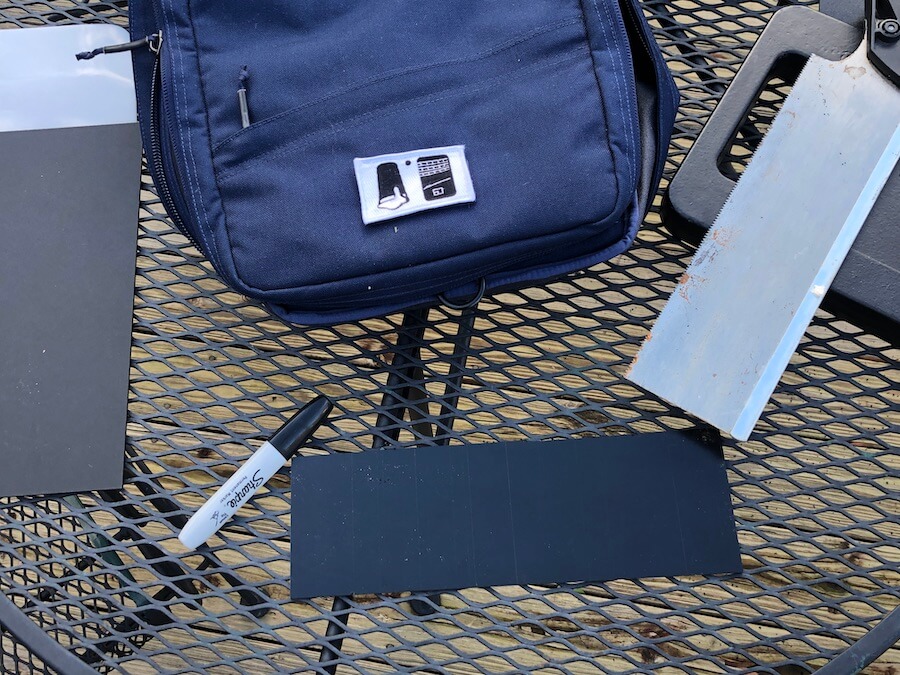
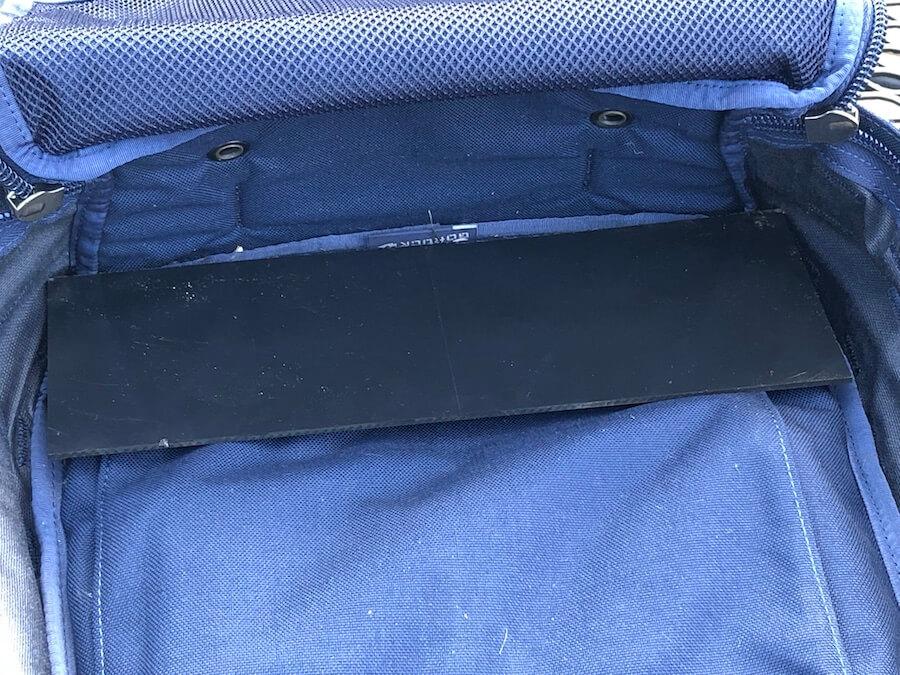
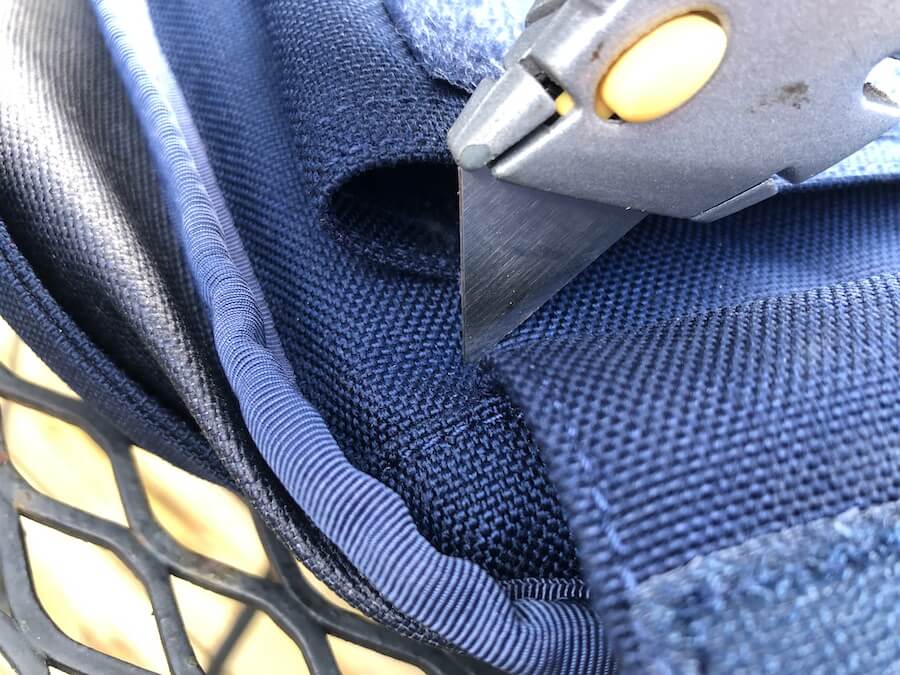
I placed it in the bottom of the ruck, just to see if it was in the right size. It was, however the very sharp corners were gonna be an issue. So, I needed to chop those down.
I had an old framesheet from when I switched out my GR1 framesheet. I used that as a guide to give some shape to my corners.
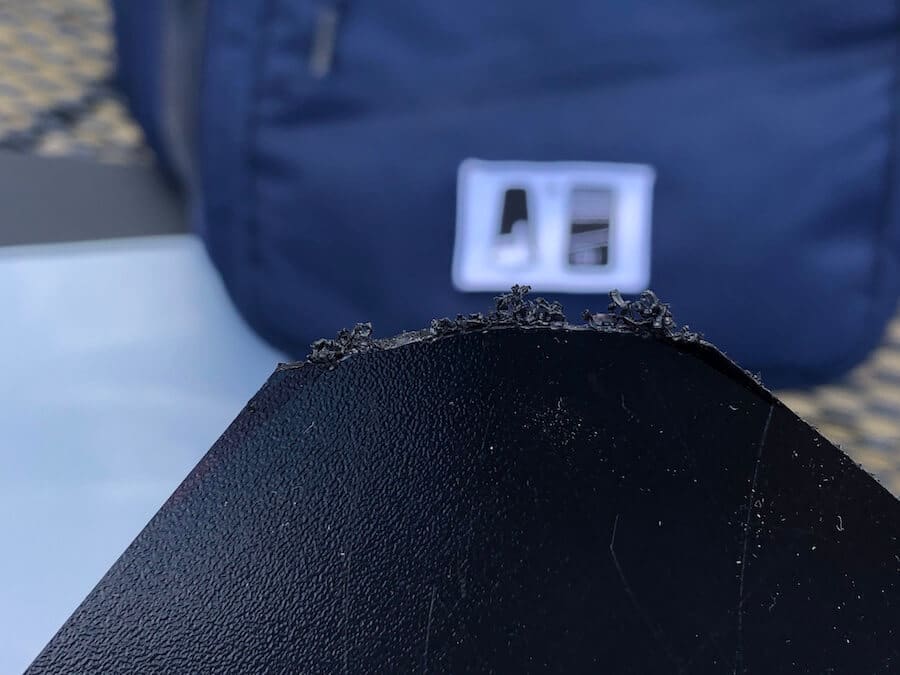
Cutting the corners was… tricky.
Cutting kydex is sloppy. I recommend having some sandpaper on hand to smooth out the rough edges.
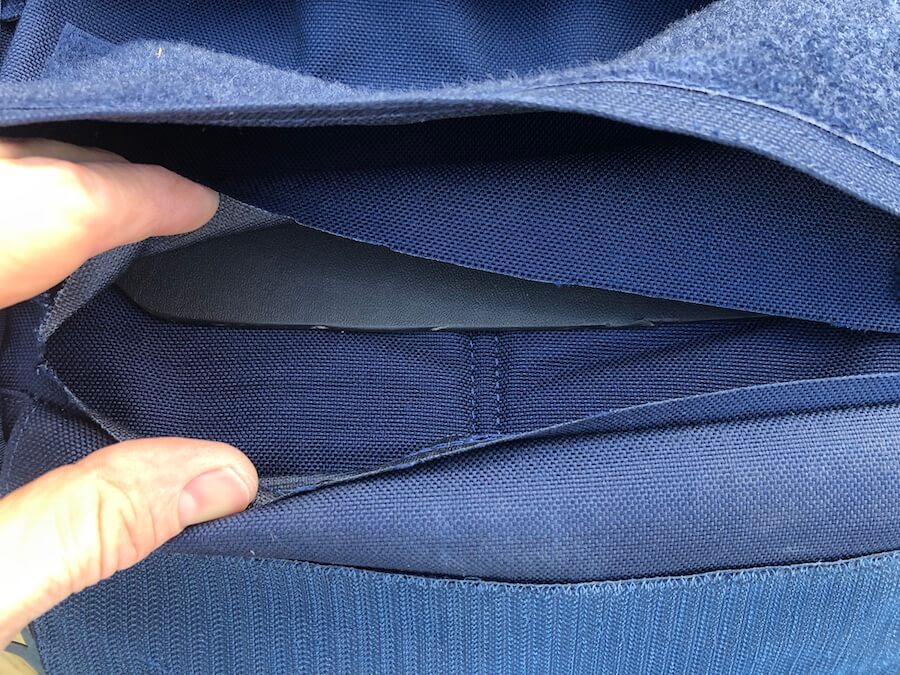
Now, my first idea was to simply shove the new piece down into the bottom of the pocket. My hope was that the side pressure plus the ruck plate would hold the kydex in place.
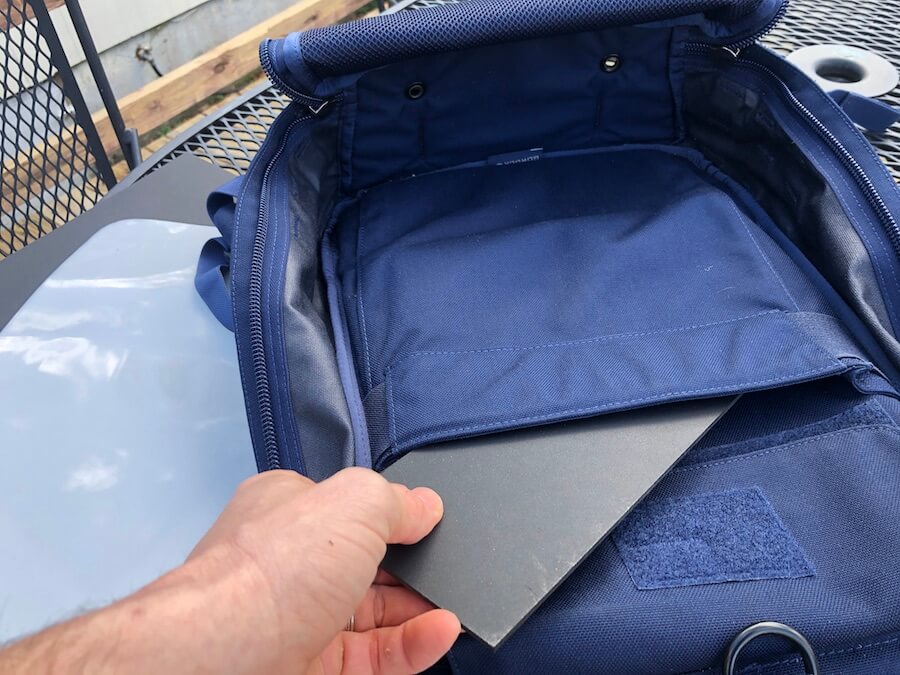
Once in place I picked up the ruck. It folded.
Putting it on did not yield better results. Examining the ruck and the insert location in the pocket, it appears that the insert 1) couldn’t get close enough to the bottom and 2) was able to move and fold due to the flexabilty of the pocket.
At this point, I knew what I was going to have to do.
I had contemplated it for a couple of months.
I was going to cut open the Rucker and attempt to change out the entire framesheet.
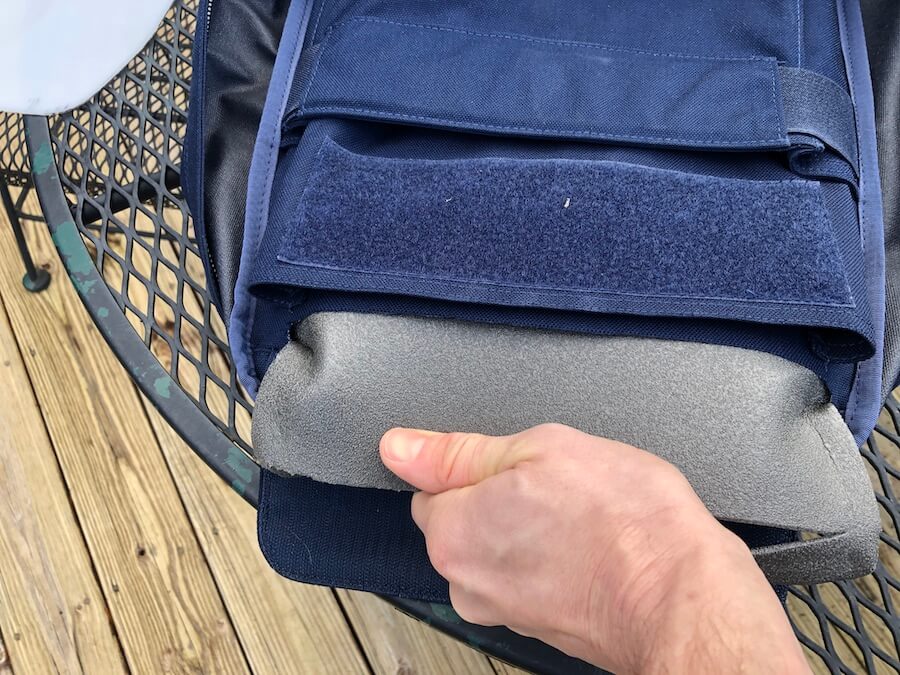
After looking at my options, I decided to cut right below the ruck plate flap. My logic was that even with the bag cut, the flap would be able to help hold it in place and keep it from going bonkers.
And so… I cut…
Pretty sure I just voided my SCARS warranty.
The first thing I met under the hood was a “foam” pad.
After that, I got to the framesheet.
I’ll say that the framesheet itself is very stiff. Like, totally the right stiffness for a framesheet.
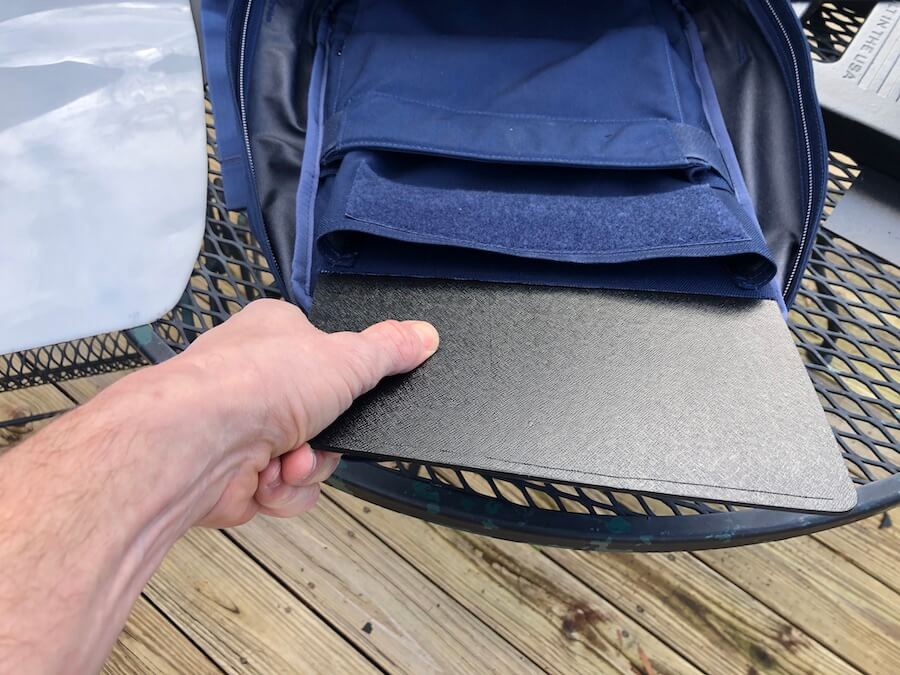
The shape, however…
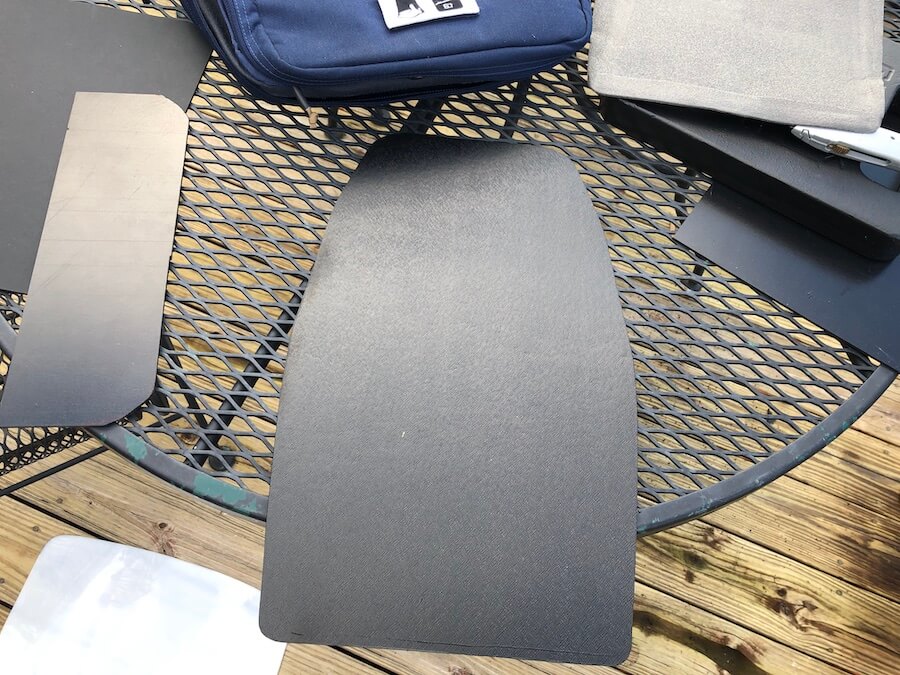
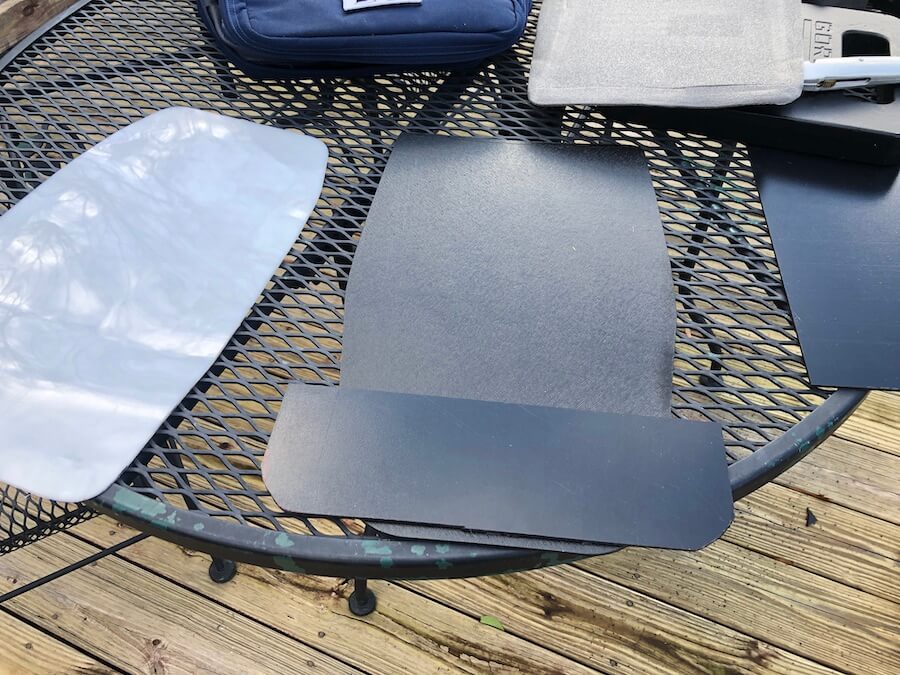
For the sake of comparison, here is the Rucker next to the GR1 framsheet. Notice how much more the Rucker framsheet tapers at the bottom (which is the top of the pic).
Along with that, notice the dramatic difference between the bottom of the Rucker framesheet and the “spacer” piece I had just cut (which fit snuggly within the width of the Rucker).
Scratching my head as to what I should do, I grabbed ole faithful.
One of the beautiful features of the GR1 is that the framesheet pocket is easily accessible from the laptop compartment (I assume this is still true of newer GR1s).
After a little struggle, I got my custom GR1 framesheet out.
Here it is beside the Rucker framsheet.
You’ll notice that their width is about the same, but the length is greater on the Rucker framesheet.
I then decided to put my custom GR1 framsheet in the Rucker. It fit, however, as you can see, it wasn’t long enough. It left about 2 inches at the top when pushed to the bottom.
For some reason, I don’t have a picture of my test results. Sufficed to say, this wasn’t a good enough improvement. Mildly better, but not much.
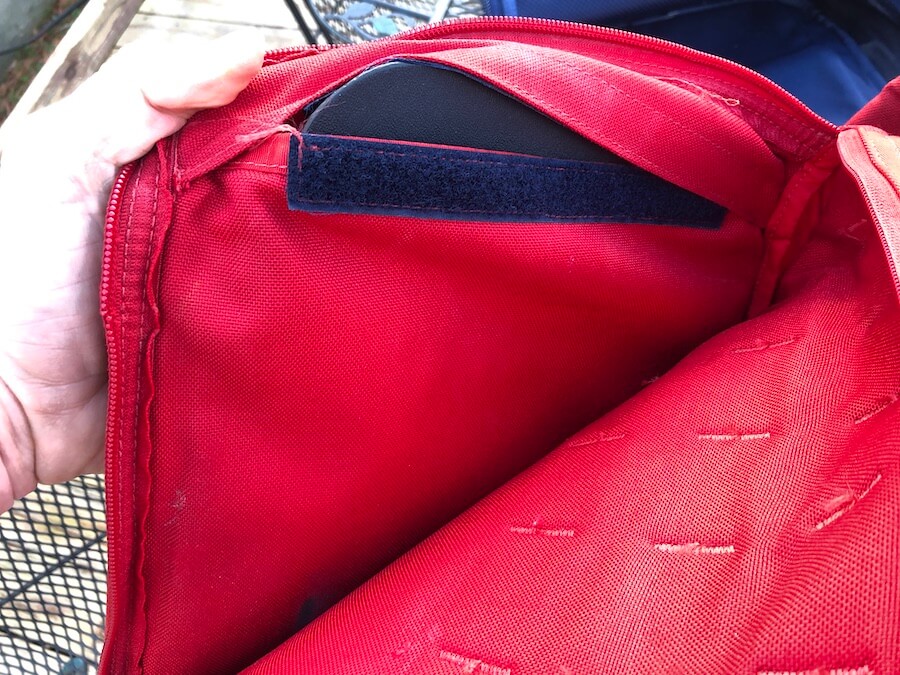
So, I decided to see what happened when I added my insert to the bottom of my new sheet pocket.
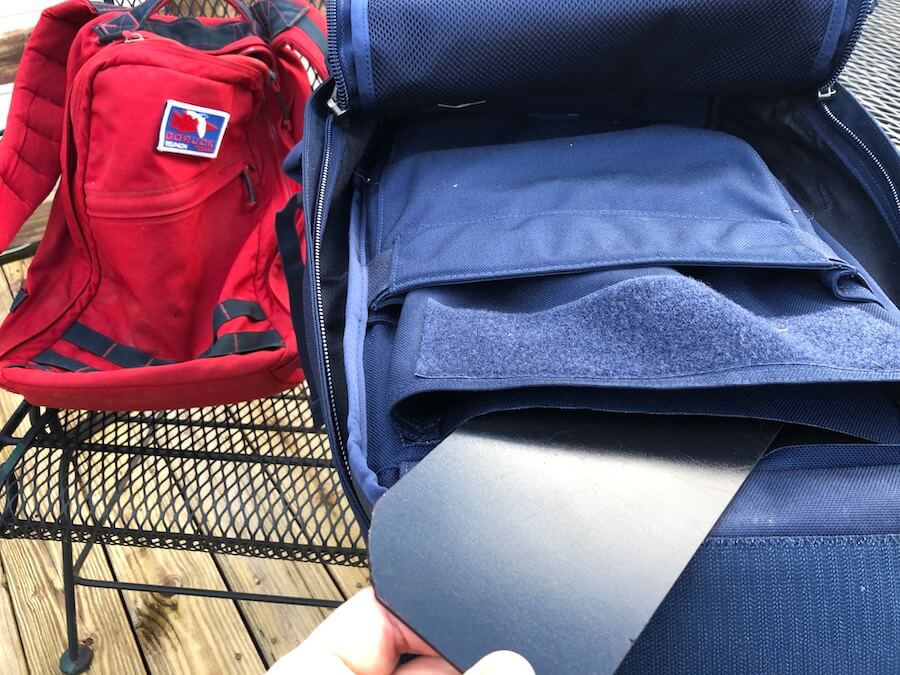
Bingo! the crumple was gone.

However… I somehow introduced a new problem.
While the ruck was no longer hugging me, which was nice, it sat weird at my low back.
My best guess, at this point, is that was the point where the insert ended and the other framesheet picked up.
I hypothesize that, possibly, if I had a full length framesheet at the greater width… I think… it might fix everything.
Sadly, I don’t have a long enough piece of Kydex to try.
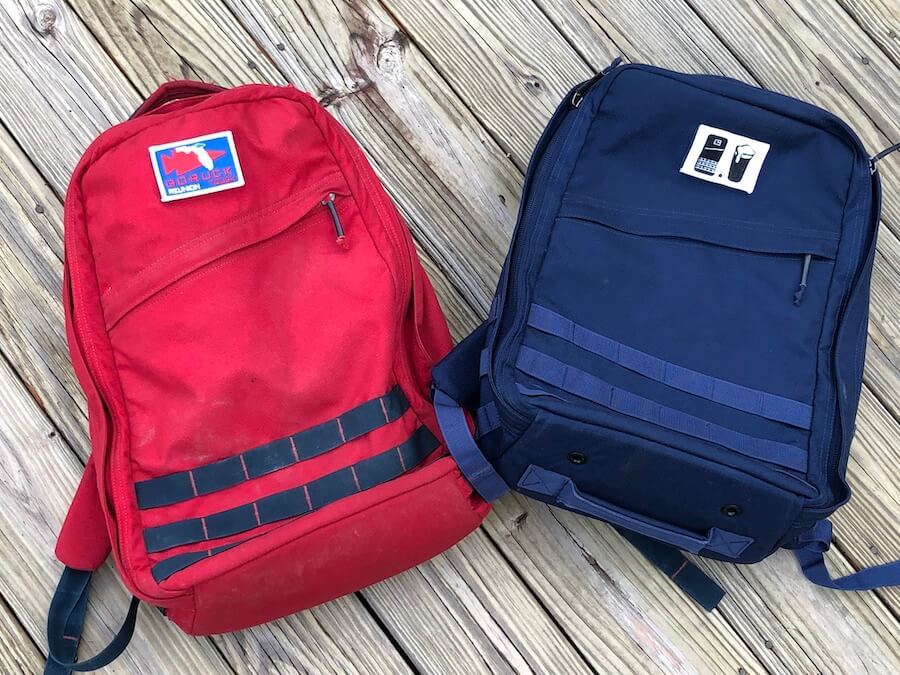
So, I put my custom GR1 framsheet back in my beloved American GR1.
I then threw a 30# plate into my GR1 and… ah, perfection.
I retuned the original Rucker framsheet and padding into the Rucker and added a plate… just to see.
It crumpled and hugged me. The GR1 was better.
So, maybe there is a solution with creating a full sized framsheet.
I’ll shop around and see if I can get one to try out. But, of course, the only way to do the mod is to cut open your Rucker… and, that seems pretty drastic for most people.
So, is there another solution? Yes, I think there is.
As I said, I used this Rucker for my Veterans Day Heavy and Tough. Since the pack is only 20L, when I added my packing list the ruck was actually pretty full. I noticed that, when full, the crumple and hug was minimal. It was “almost” perfect.
So, I still think that the Rucker is a great event and rucking bag. I will probably use it again, assuming that the giant hole I cut in it doesn’t end up being an issue.
What I don’t think the rucker is good for is tossing a 30# plate in it and rucking it empty. It simply needs more filler to keep a good (for me) shape.
As a final note, I will say that I did reach out to GORUCK about the framesheet. Andy was extremely helpful in explaining the constant testing they went through with various sheets (and all aspects of the ruck) and the ongoing testing for future rucks.
I am thankful for GORUCK open lines of communication and continual desire to improve their products.
That’s it for now. If you have any questions or thoughts, drop them in the comments below.

7 Replies to GORUCK Rucker Framesheet Modifications
Ryan
I’ve had my Rucker since I started rucking two years ago. I had a GR1 initially and hated it, even w the improvised Kydex sheet. With my Rucker I’ve had the same issue, but I’ve done nothing to alter it or have even tried. The only difference I see between yours and mine is I use a hip belt. With that said I did adjust my hip belt to the outboard MOLLE (the furthest away from my body) and this dramatically reduced the ruck rub I was experiencing on my back and muffin too sides! Now that I am 50 lbs lighter the ruck rub is minimal as is the crumpling. My theory is that it has molded and shaped itself to me over time. To me… it’s perfect. I can ruck 5 miles or 55 miles and it’s good to go. I think w the variances in our bodies there wont ever be a ruck that fits all of us the way we want it to. I think we just got to break those puppies in w work and miles!
My only complaint is that no matter WHAT shirt one wears rucking, it WILL ride up your back over the miles. (So yes now I tuck mine when going more than 5 miles) And despite what GORUCK says, ALL shirts will get rubbed and picked where the ruck rides, and also where the straps ride and over time the shirt will not be suitable for wear “out on the town” as claimed. I always wear moisture wicking shirts or GORUCK rucking shirts or the rucking hoodie and they are scratched and picked to death, although I’ve been told they’ve not heard of this… it happens.
Just my thoughts. And great write up on working that issue. I’m sure you gave GORUCK some ideas and may help in the long run. As for the rubbing of shirts… that’s the roughness of the material of the ruck and currently isnt solvable.
Thanks for the perspective, Joe! I think you are right when you say, ” I think w the variances in our bodies there won’t ever be a ruck that fits all of us the way we want it to.” As for the shirt issue, word on the street is that the 500D Cordura is easier on materials. Haven’t tested myself.
Joe – regarding shirts riding up, I get this too, whether or not I’m wearing a belt on my GR1 or Rucker v2 (I use a vintage non-padded belt with a cheap Amazon “battle belt” on top of it). I’ve decided that the only solution is to wear a compression top/rash guard (I get cheap ones on Amazon) under a t-shirt. Keep the rash guard tucked in and it helps keep your back from getting trashed. FWIW – the “TSLA/Tesla” brand on Amazon are inexpensive, fit well with long tails, and come in plenty of colors.
I’ll note that during DC 30 2019 my back still got pretty abraded, which took weeks to heal fully.
Ok, I have a Rucker 30L small love it.
So I just ordered the Rucker 25L.
This time it came with a foam block sewn in the back panel.
It’s taking up way to much storage room in the bag.
How do you remove it?
I’m not using a rucking plate.
I just can’t use it with that block in it.
Thanks for your help
Sounds like you have a manufacturing error on your hands. Shoot a pic and send it to GORUCK’s support. They should be able to straighten it out.
Comments are closed.
GORUCK Ruck Plate Carrier vs. Training Weight Vest for Rucking
Review of the GORUCK Footwear Lineup
GORUCK Coyote Ruck Dye Guide
Five Tips to Crush the GORUCK Star Course by Christian Griffith
Which GORUCK Bag Should I Buy?
GORUCK Rucker 4.0 Review
GORUCK Simple Sandbag & Sandbag 2.0 Review
GORUCK Weight Vest Review (with Video)